
Free shipping On Most Orders Over $200

Before installing BMW E46 wheel spacers, check that they fit the hub and wheels, leave enough clearance, and work with the correct bolts. A spacer that looks right at the fender can still leave the wheel poorly centered or the bolts with too little thread engagement.
The E46's common fitment dimensions give you a starting point, but your wheel width, offset, brakes and suspension affect the final setup. Work through each fitment and safety check before putting the car back on the road.
Keep these points in mind as you plan your setup:
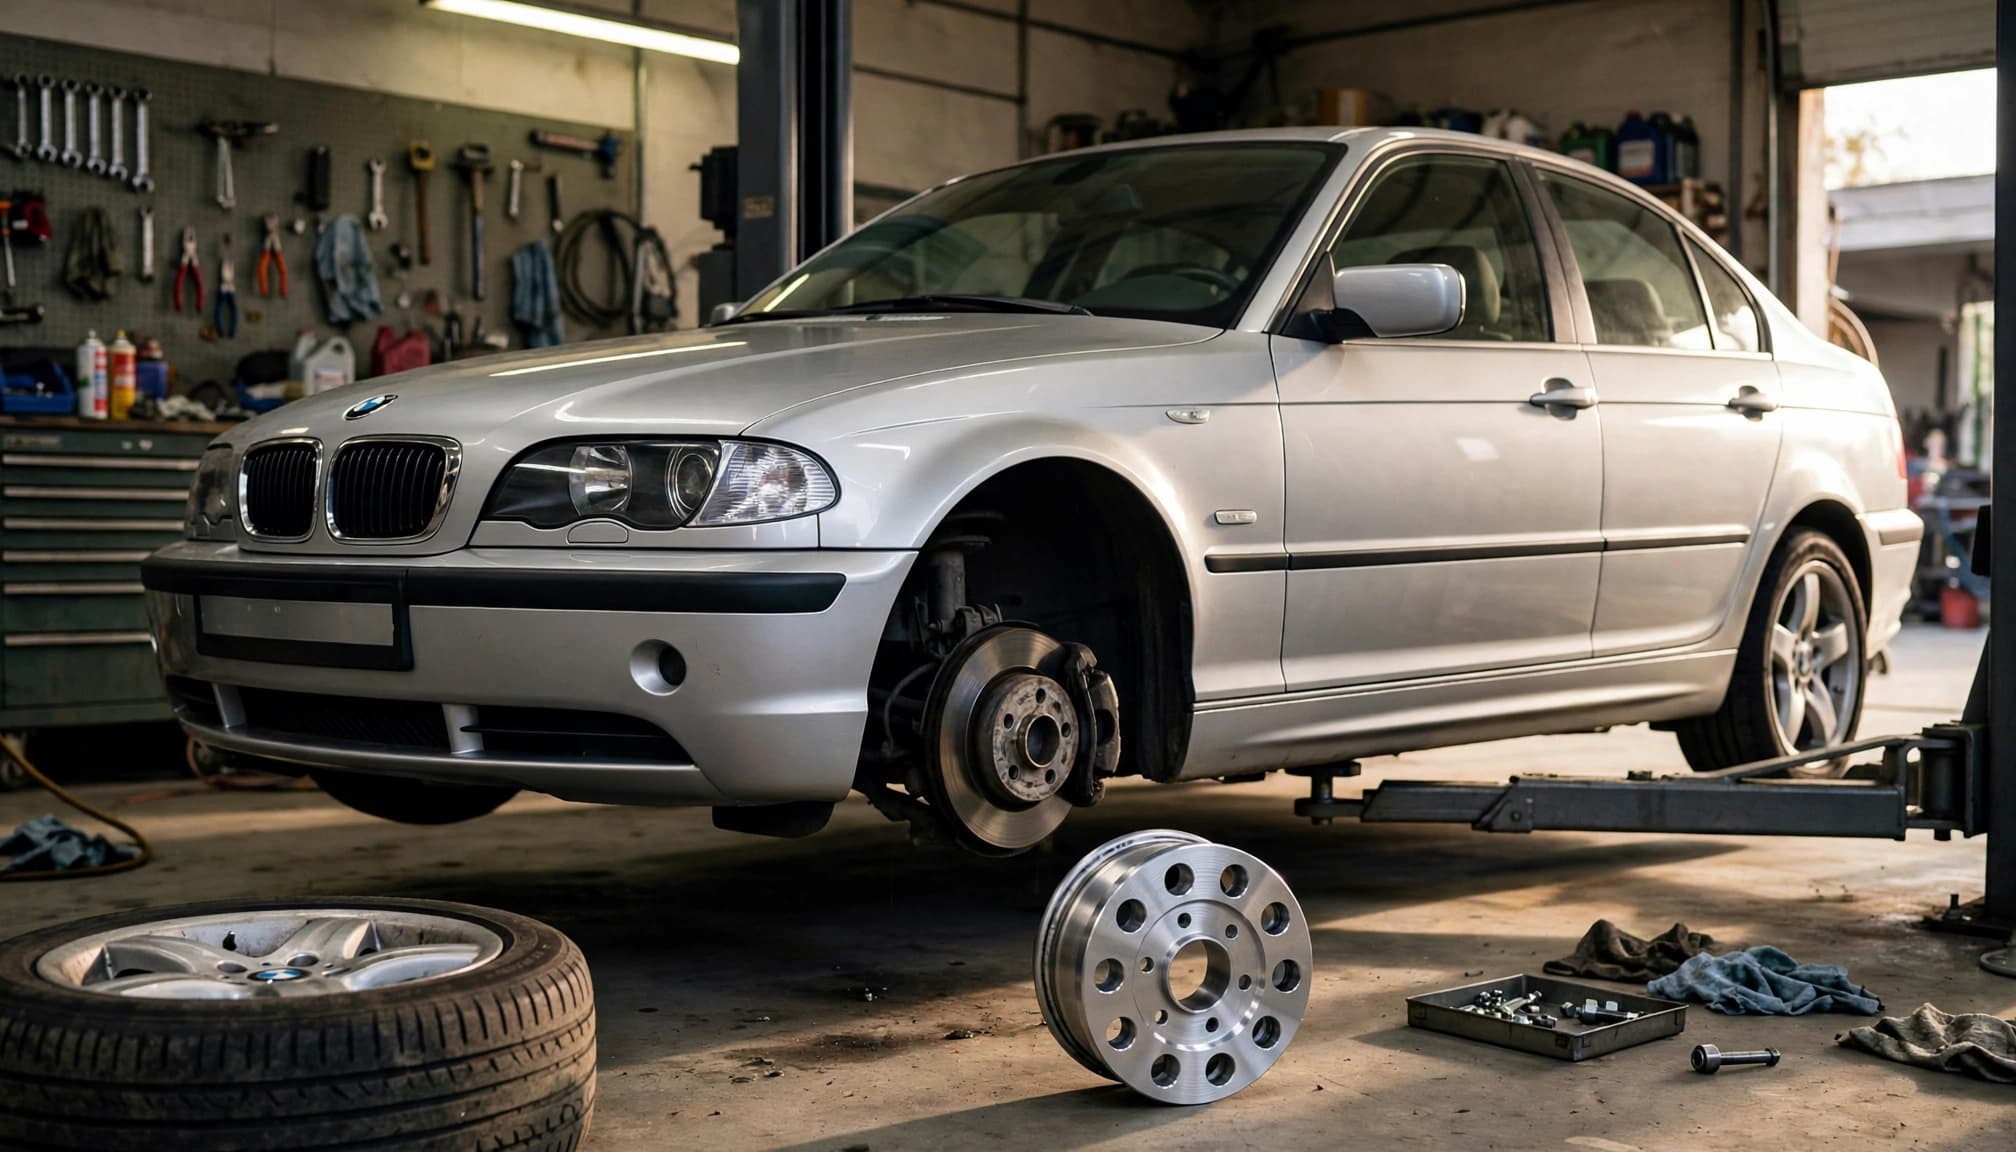
BMW sold the E46 in several versions, including the 325i, 330i and M3. They share common wheel fitment dimensions, but they don't all have the same body, brakes or factory wheel sizes. A spacer recommendation for one setup won't automatically fit another.
The standard E46 wheel bolt pattern is 5x120 mm, according to this BMW chassis fitment guide. That means five mounting holes on a 120 mm bolt circle. The wheel and a conventional spacer must match that pattern.
A spacer that matches 5x120 doesn't automatically convert the car to another bolt pattern. Conversion hardware is a separate setup. For example, our ISR Performance dual-drilled rear hub has 5x120 and 5x114.3 patterns, but it's a replacement hub rather than a spacer. Using its additional pattern also requires a modified rotor.
Look at the markings on the back of each wheel for its width and offset, often marked with an "ET" number. Front and rear wheels may have different dimensions, especially on a staggered setup.
Tire size matters too. A wider tire, a different tire profile or a lowered ride height can change the available clearance even when the wheels have the same dimensions as another E46's.
The E46's 72.6 mm hub register centers a matching wheel on the hub. With a spacer installed, that centering relationship must still work at both mounting faces.
A hub-centric spacer has a recess that fits over the car's hub register. Many designs also have a raised lip that centers the wheel. Both sides need to fit their mating parts without a gap.
Some thin spacers rely on the remaining factory hub lip to center the wheel. If the spacer covers too much of that lip, the wheel may not have enough engagement. Don't assume a thin spacer is safe simply because it slides over the hub.
Thicker spacers with their own centering lip must also clear the end of the factory register. If the register bottoms out inside the spacer's recess, the spacer can appear to fit while its mounting face sits away from the hub.
An aftermarket wheel may have a larger center bore than the E46 hub. In that case, a correctly sized centering ring may be needed between the spacer's wheel-side lip and the wheel.
The spacer, ring and wheel must seat together without interference. Don't stack spacers or use an improvised ring to make a poorly fitting combination work. Vibration can be a sign of a centering problem, but the absence of vibration doesn't prove that the parts fit properly.
A spacer moves each wheel outward by its thickness. A 10 mm spacer on each side adds 20 mm to the distance between the mounting faces across that axle. It also reduces each wheel's effective offset by 10 mm.
For example, an ET47 wheel with a 12 mm spacer has an effective offset of ET35. The wheel itself hasn't changed; its mounting position has.
With the car on level ground at normal ride height, compare the tire's outer edge with the fender opening. A straightedge and ruler can help you estimate how far the wheel might move outward.
Leave room for suspension travel and steering movement. A tire that clears the fender while the car sits still may contact it over a bump or with passengers aboard. Tire shoulder shape and alignment can affect that clearance too.
The front wheels turn, while the rear wheels travel through a different arc under compression. Existing wheel widths and offsets may also differ between axles.
Choose each axle's thickness based on its own measurements. There's no single spacer size that fits every E46, and a flush-looking parked car isn't proof that the tires will clear during a drive.
Most E46s use M12x1.5 wheel bolts, but thread size is only one part of the hardware decision. Bolt length, the seat against the wheel and the type of spacer all affect whether the wheel can be mounted safely.
The bolt's seat is the shaped surface beneath its head that contacts the wheel. Factory-style wheels commonly use a conical seat, but aftermarket wheels can have different requirements.
Use bolts with the seat specified for your wheels. A bolt that threads into the hub can still clamp incorrectly if its seat doesn't match. Inspect the bolt holes for damage and replace hardware with worn threads or damaged seating surfaces.
A slip-on spacer sits between the wheel and hub, with the wheel bolts passing through it. If your existing bolts have the correct length, adding a 10 mm slip-on spacer generally calls for bolts with 10 mm more shaft length under the head.
That calculation preserves the original engagement; it doesn't fix bolts that were already too short or too long. Count the full turns as the bolts engage by hand and assess their engagement through the hub. They must clamp the wheel before reaching the end of the available threads, and they must not protrude far enough to hit components behind the hub.
Bolt-on spacers use one set of fasteners to attach the spacer to the hub and another set to attach the wheel to the spacer. Their hardware and clearance requirements differ, so follow the instructions for that design. A qualified technician can assess the setup if bolt engagement or protrusion is uncertain.
A spacer moves the wheel outward, which can increase room between the back of the spokes and a brake caliper. It won't necessarily solve every brake clearance problem, however.
A larger caliper may interfere with the wheel barrel as well as the spokes. Since a spacer doesn't increase the barrel's diameter, moving the wheel outward may not fix that contact.
Inspect clearance around calipers, brake lines, suspension components and any wheel weights. Turn the front wheels through their steering range and look for contact with the liner or nearby parts. With the vehicle safely supported, spin each wheel by hand after installation and listen for rubbing.
Outward movement reduces clearance at the fender and may expose a tire to contact with the arch or liner. Check both sides, since bodywork and alignment aren't always perfectly symmetrical.
A lowered car needs particular attention because its suspension and wheel position may differ from stock. If contact is likely under compression or steering, use a thinner spacer or reconsider the wheel and tire combination rather than relying on the parked appearance.
Rust, dirt and raised debris can prevent a spacer from sitting flat. Clean the hub face and center register, then clean the spacer faces and the back of the wheel. Remove loose corrosion without aggressively grinding the mating surfaces.
Seat the spacer against the hub and inspect it all the way around. It should lie flat without rocking. Do the same when the wheel goes on.
Also inspect the brake rotor's retaining screw and any features that could interfere with the spacer's mounting face. A gap caused by trapped debris or a mismatched recess can prevent even clamping, regardless of how accurately the bolts are tightened.
Use a suitable jack and properly rated jack stands or a lift. Never work under a car supported only by a jack. Gather a torque wrench, the correct socket and the hardware for your spacer system before starting.
Published E46 references disagree on wheel-bolt torque: one E46 fitment reference lists 120 Nm, while another wheel specification guide lists 100 Nm. Use the applicable vehicle-specific workshop specification and the fastener instructions for your setup. If the correct value isn't clear, have a qualified technician handle the installation.
Before driving, turn the steering wheel through its range and look for interference. Make sure the wheel rotates freely and that the tire doesn't contact the liner. Keep tools and loose parts clear of the vehicle.
Start with a cautious drive on familiar roads. Listen for rubbing or unusual noises, and pay attention to steering vibration. Stop safely if anything feels wrong rather than continuing to drive on a questionable setup.
Recheck wheel-bolt torque after the first 50 miles and follow any additional interval specified for your hardware. Inspect for fresh rub marks on the tires and liners. If a bolt has loosened or a wheel vibrates, remove the wheel and investigate the mounting surfaces, centering and hardware before driving again.
BMW E46 wheel spacers can change the stance, but the right size depends on the whole wheel and tire setup. Centering, bolt engagement and clearance need to work together.
Take the measurements before buying, then give the finished installation a careful recheck. If any part of the fit is uncertain, a qualified technician can help get it sorted before the car goes back on the road.